Alaya Connector automates your tasks via scenarios. A scenario is comprised of a series of modules that indicate how data should be transferred and transformed between third-party apps and services. Refer to this article for more information on modules.
Within Alaya Connector, there are 4 steps to creating a scenario:
Choose your apps
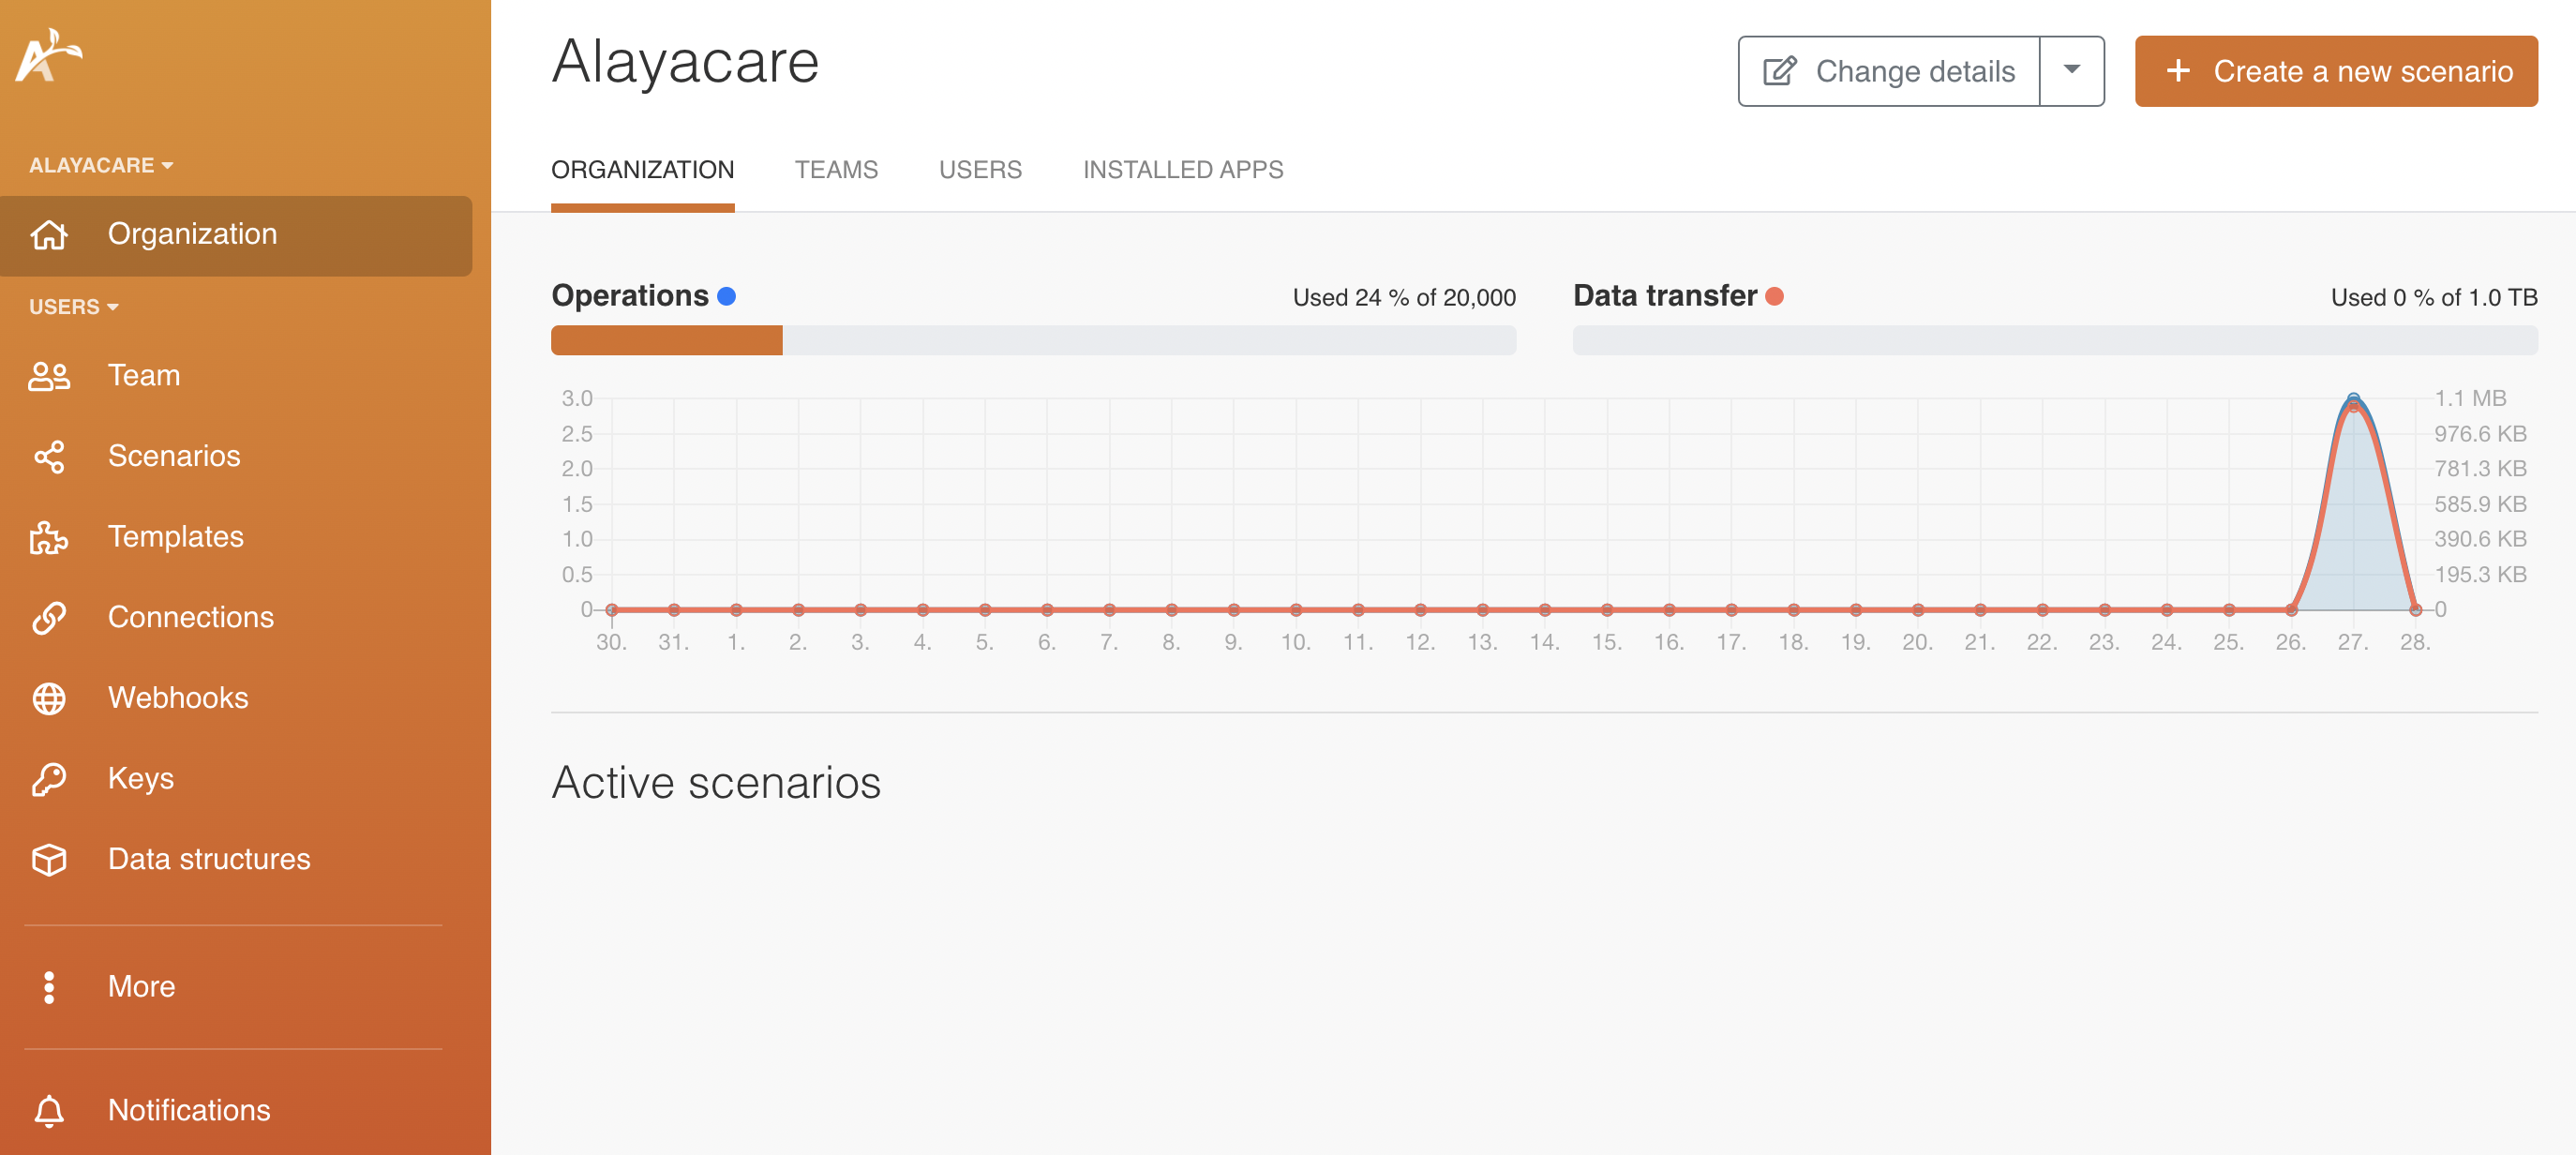
On your Dashboard, click on the Create a new scenario button at the top-right corner.
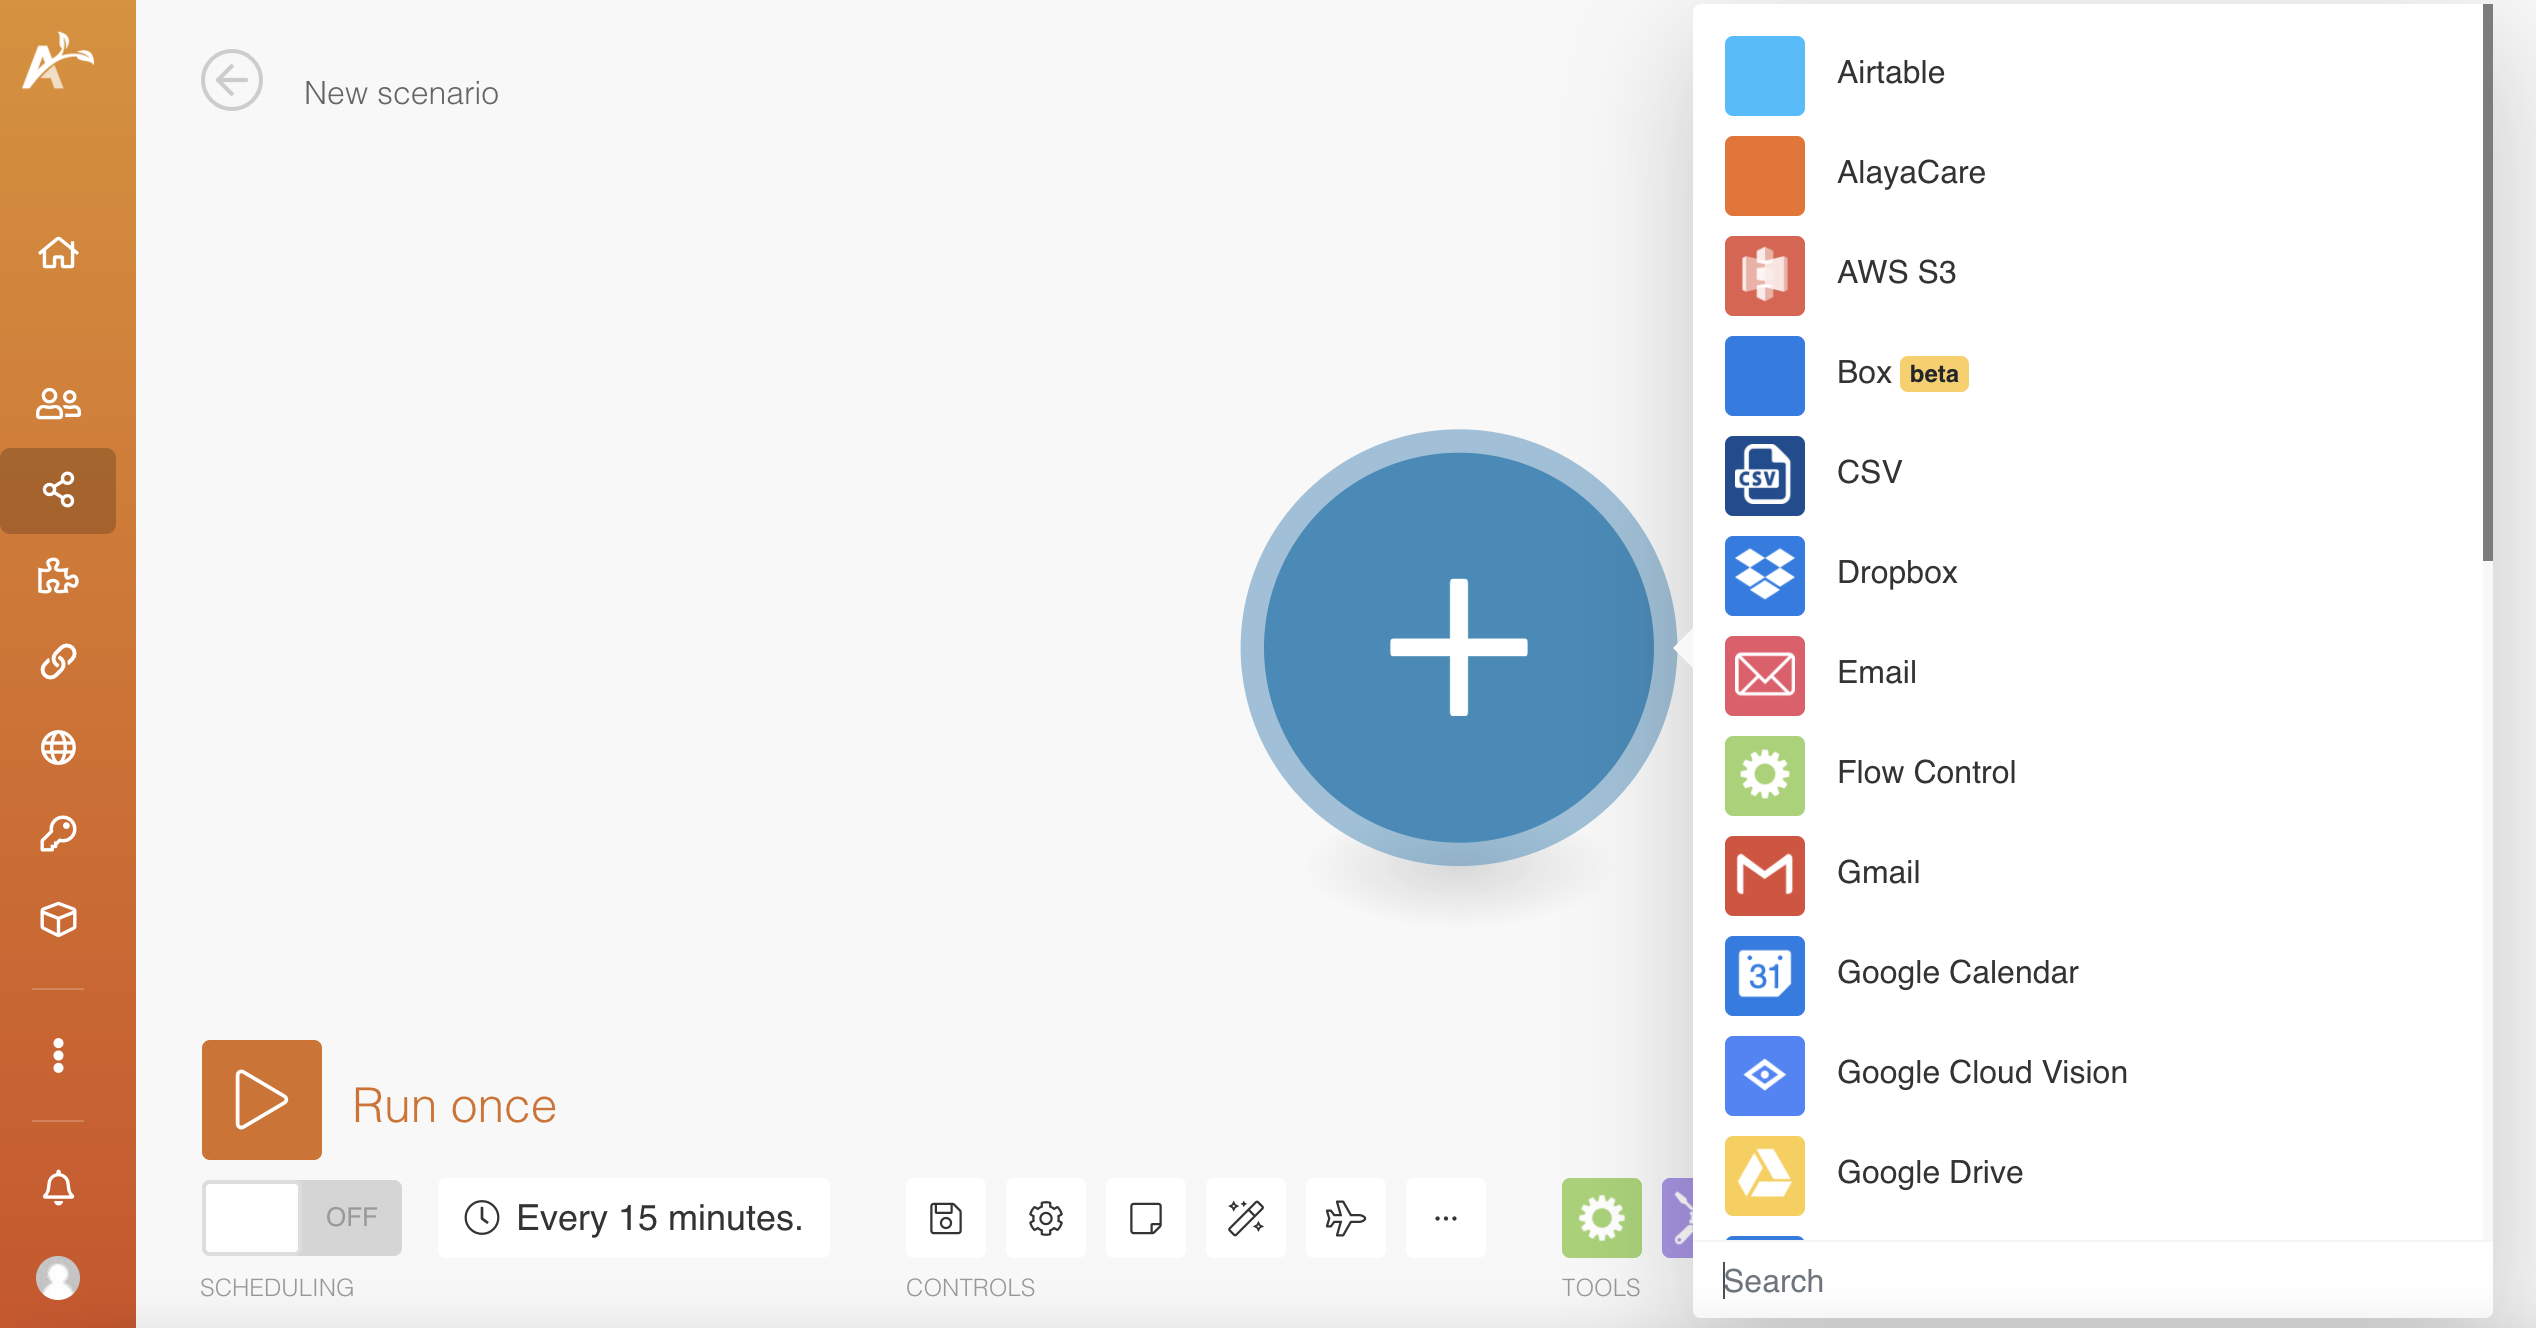
You will then see the below dialog. Search and choose from a list of third-party apps and services. Click on the desired app or service.
Build your scenario
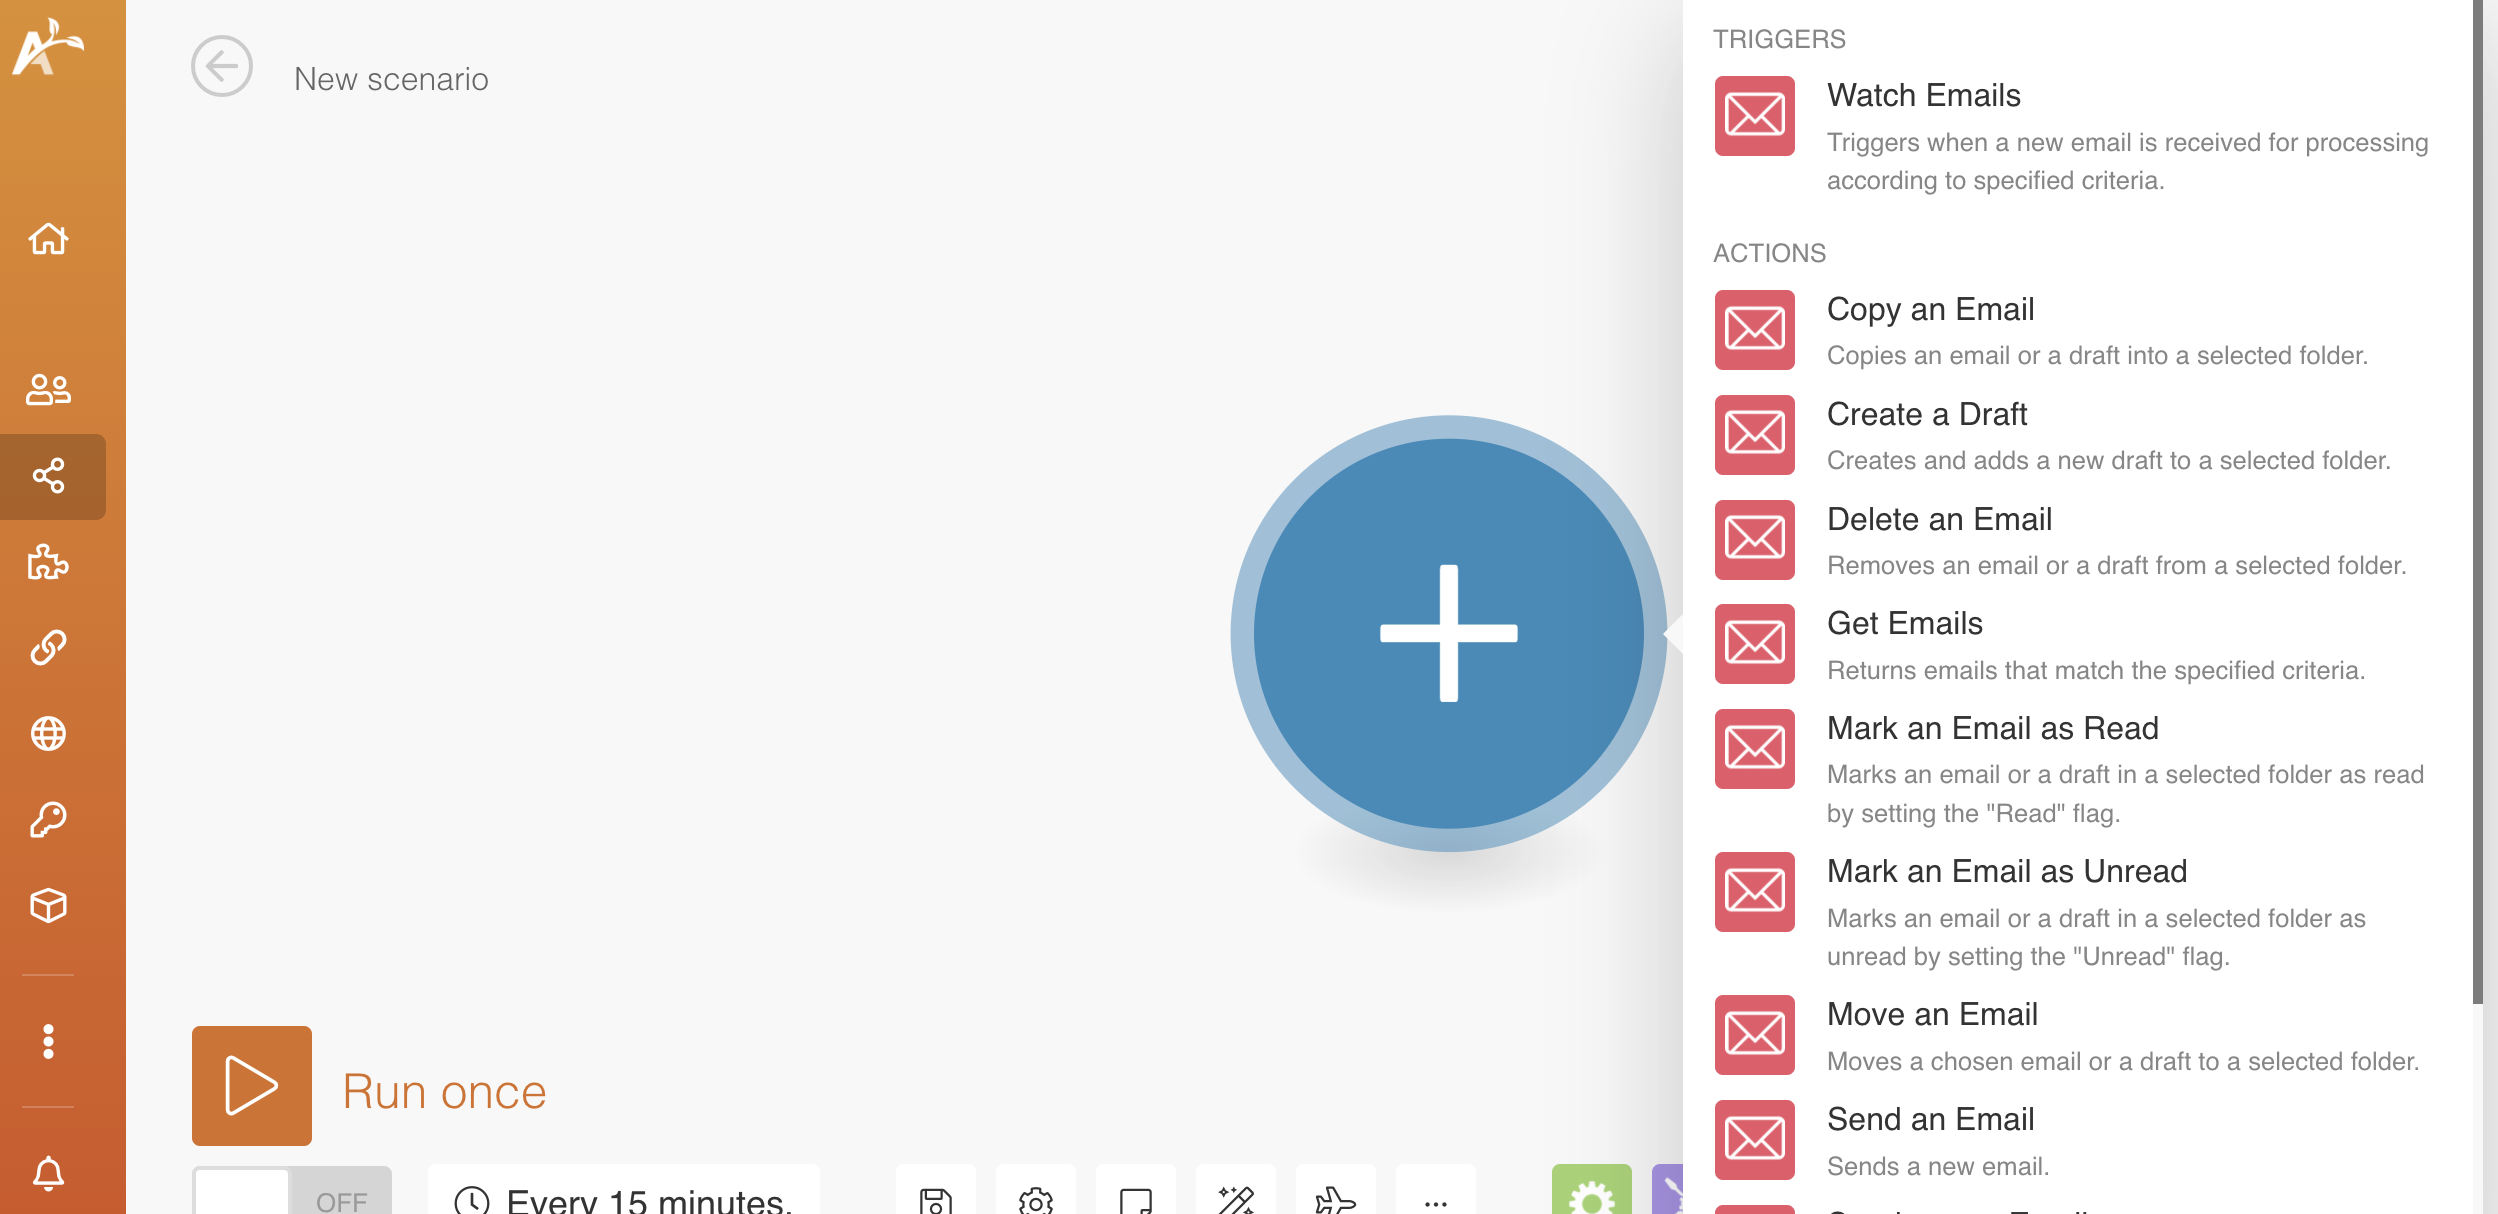
You will now see the scenario editor screen. Choose what data the scenario should search for. This means that you have to choose a trigger, such as as "watch emails", in order to start your scenario.
Enter information into the fields as shown below.
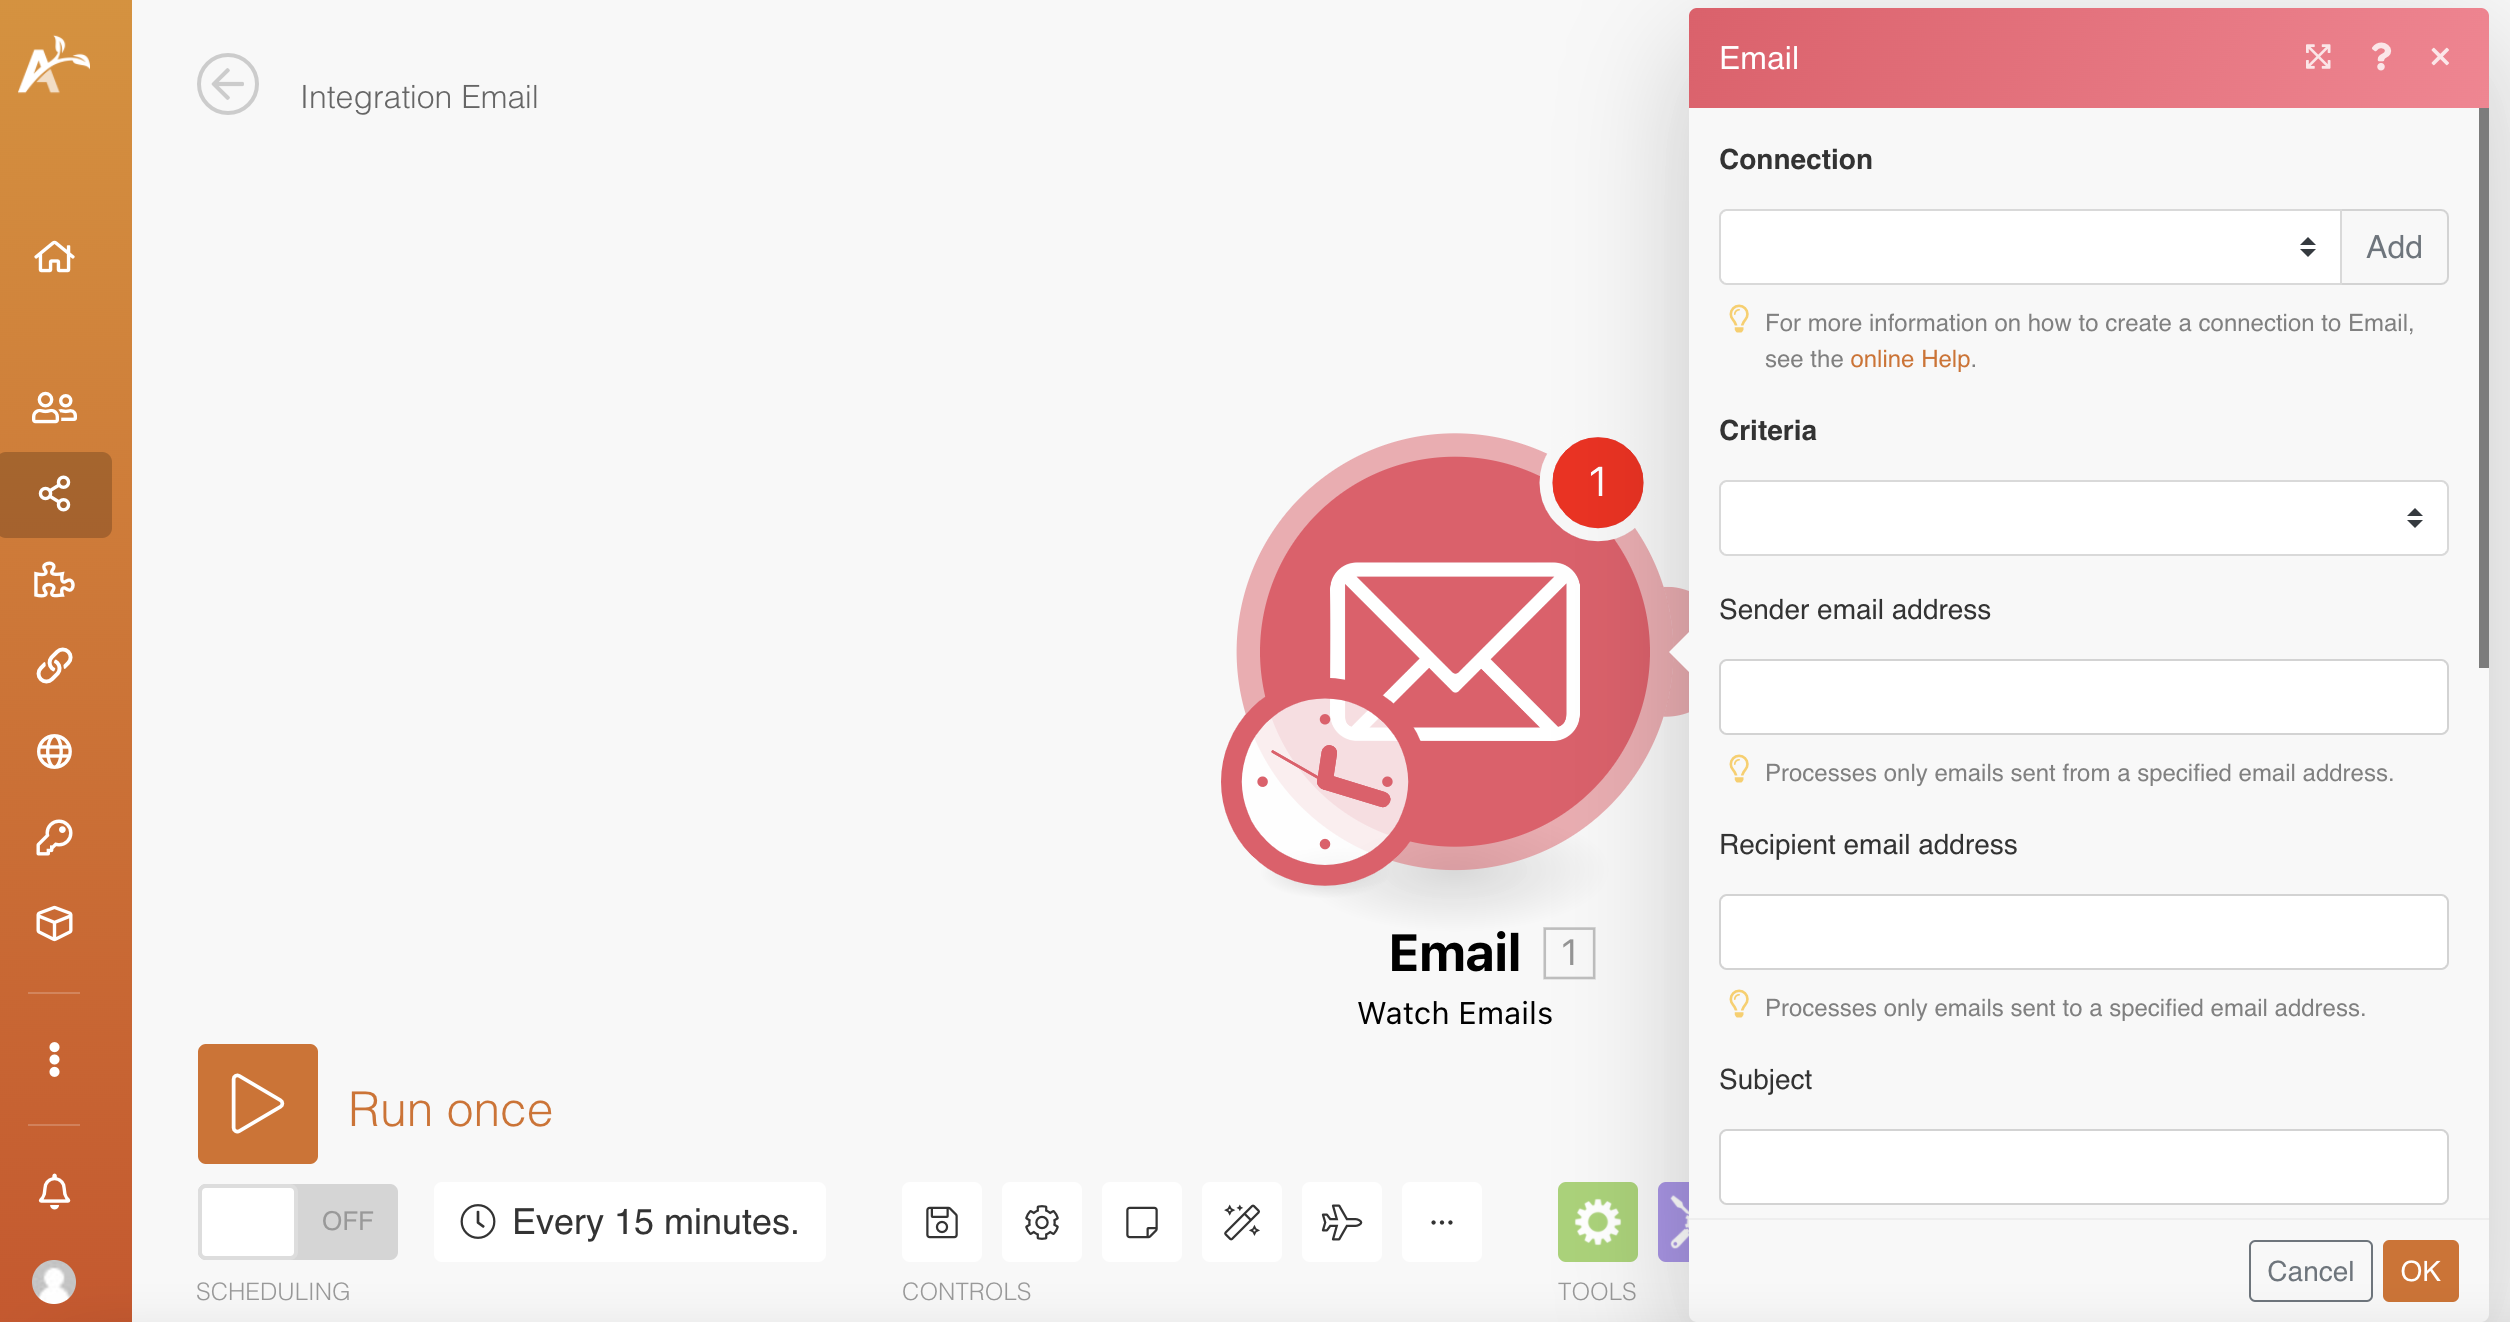
Users will then see the following screen once all the information has been entered accordingly. On the same screen users can also adjust the frequency settings to this module. When you click on "OK" and save all the information, you can add another module by clicking on the "+" sign.
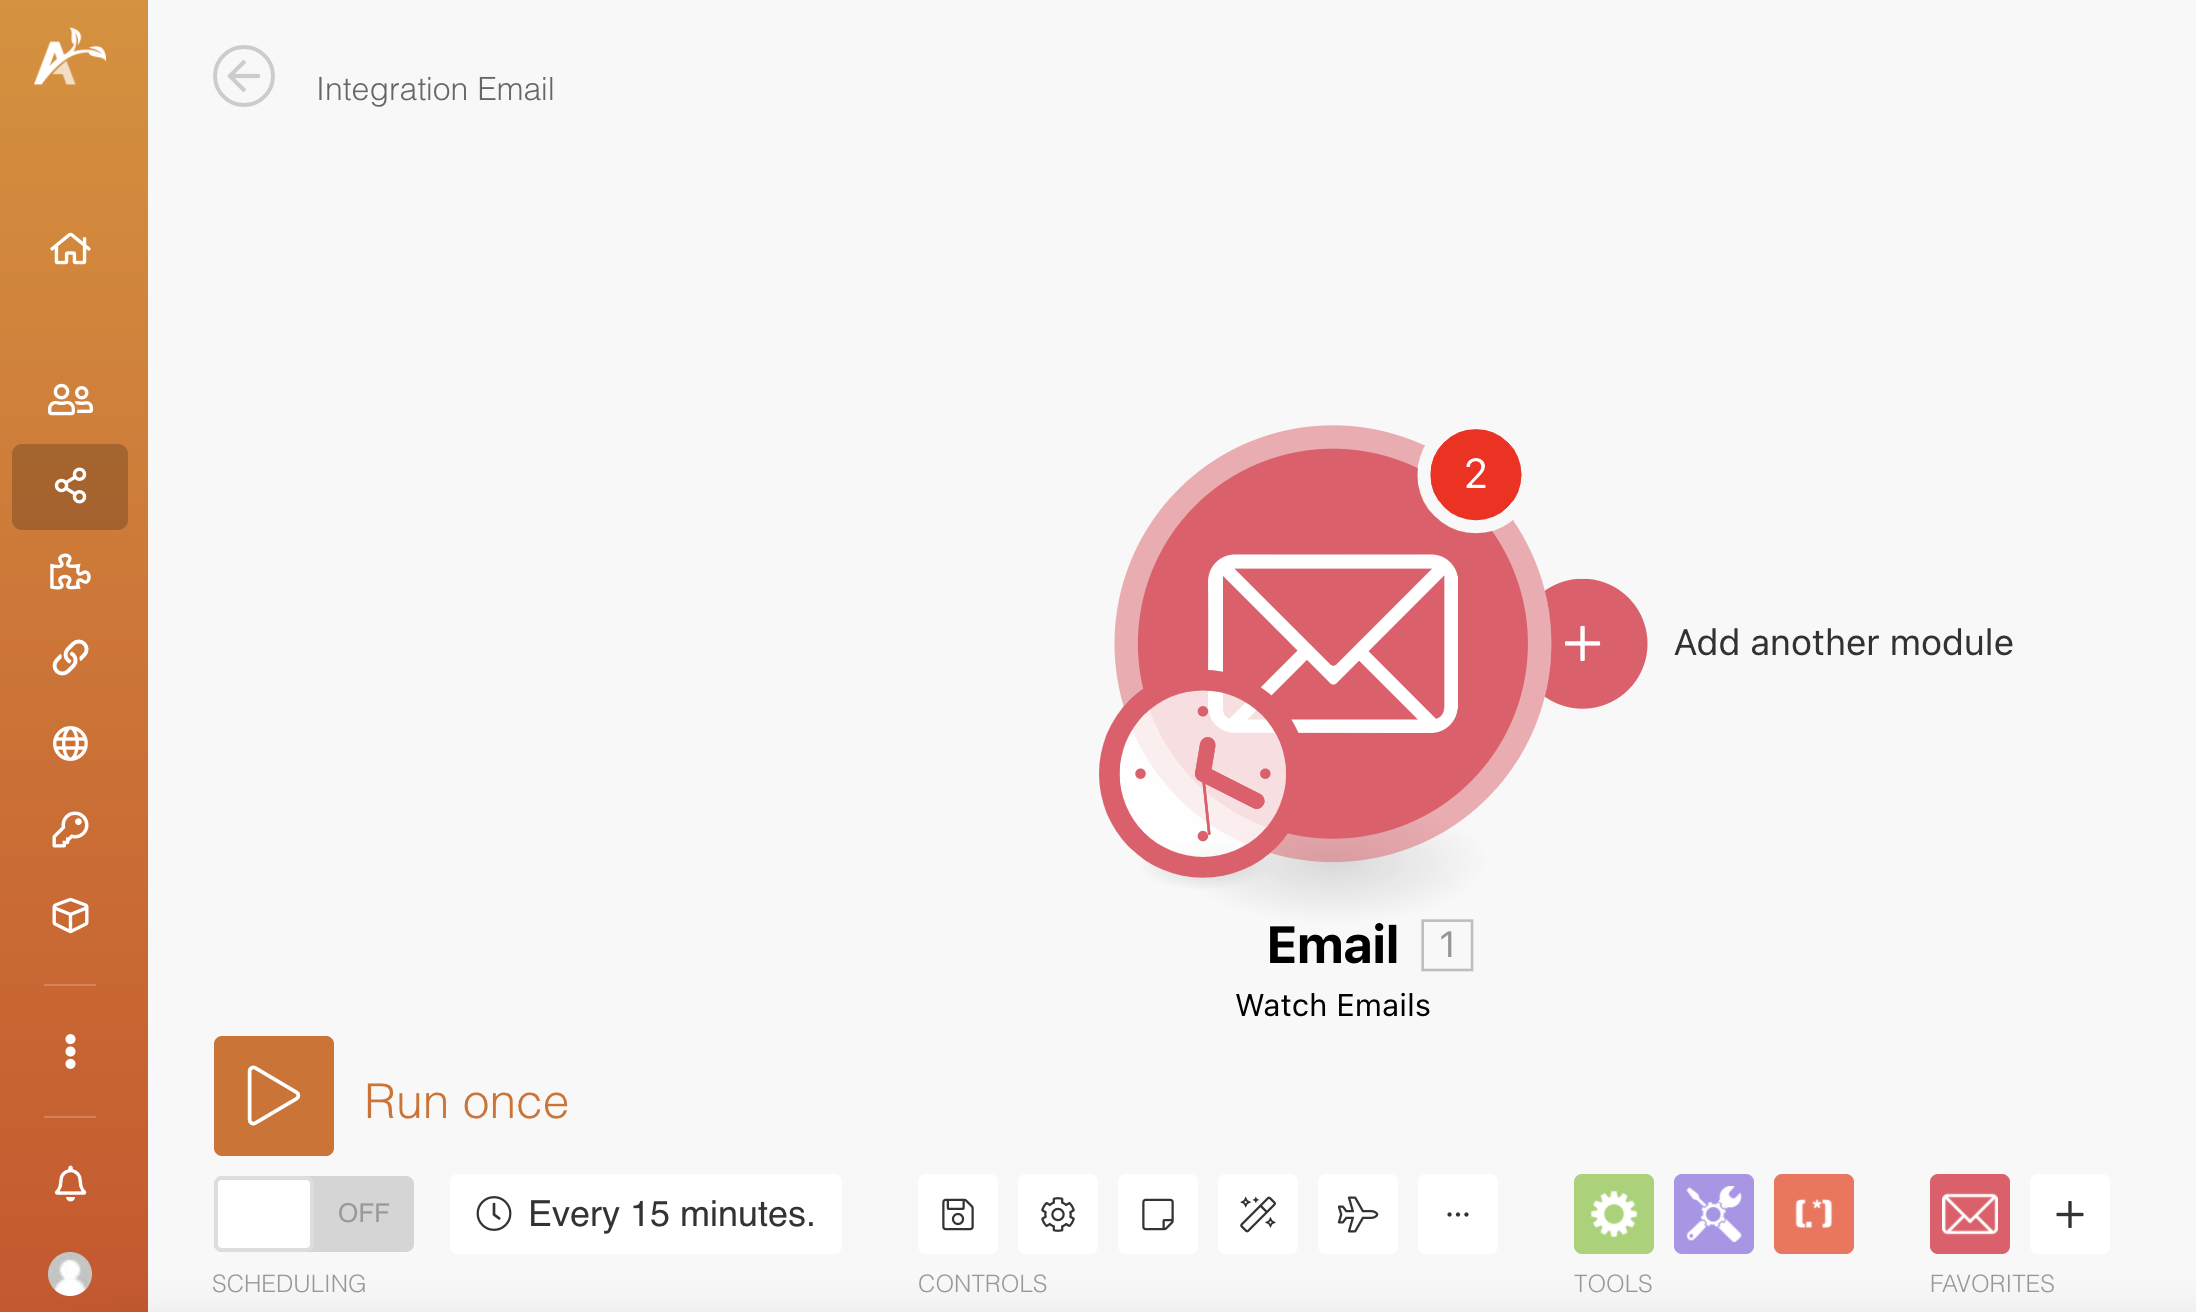
Please note that all scenarios and modules will have different settings and field values which are entirely dependent on the third-party service provider. Some scenarios or modules may require more steps to set up than others. We will provide more instructional articles pertaining to some of the most popular scenarios, and please be sure to reach out to your account manager for additional support.
Test your scenario
Before activating and scheduling a scenario, it is highly recommended to test your scenario by running it once. Click the play ▶️ button with Run once beside the scenario to test it. Check your warning messages to identify issues in your module.
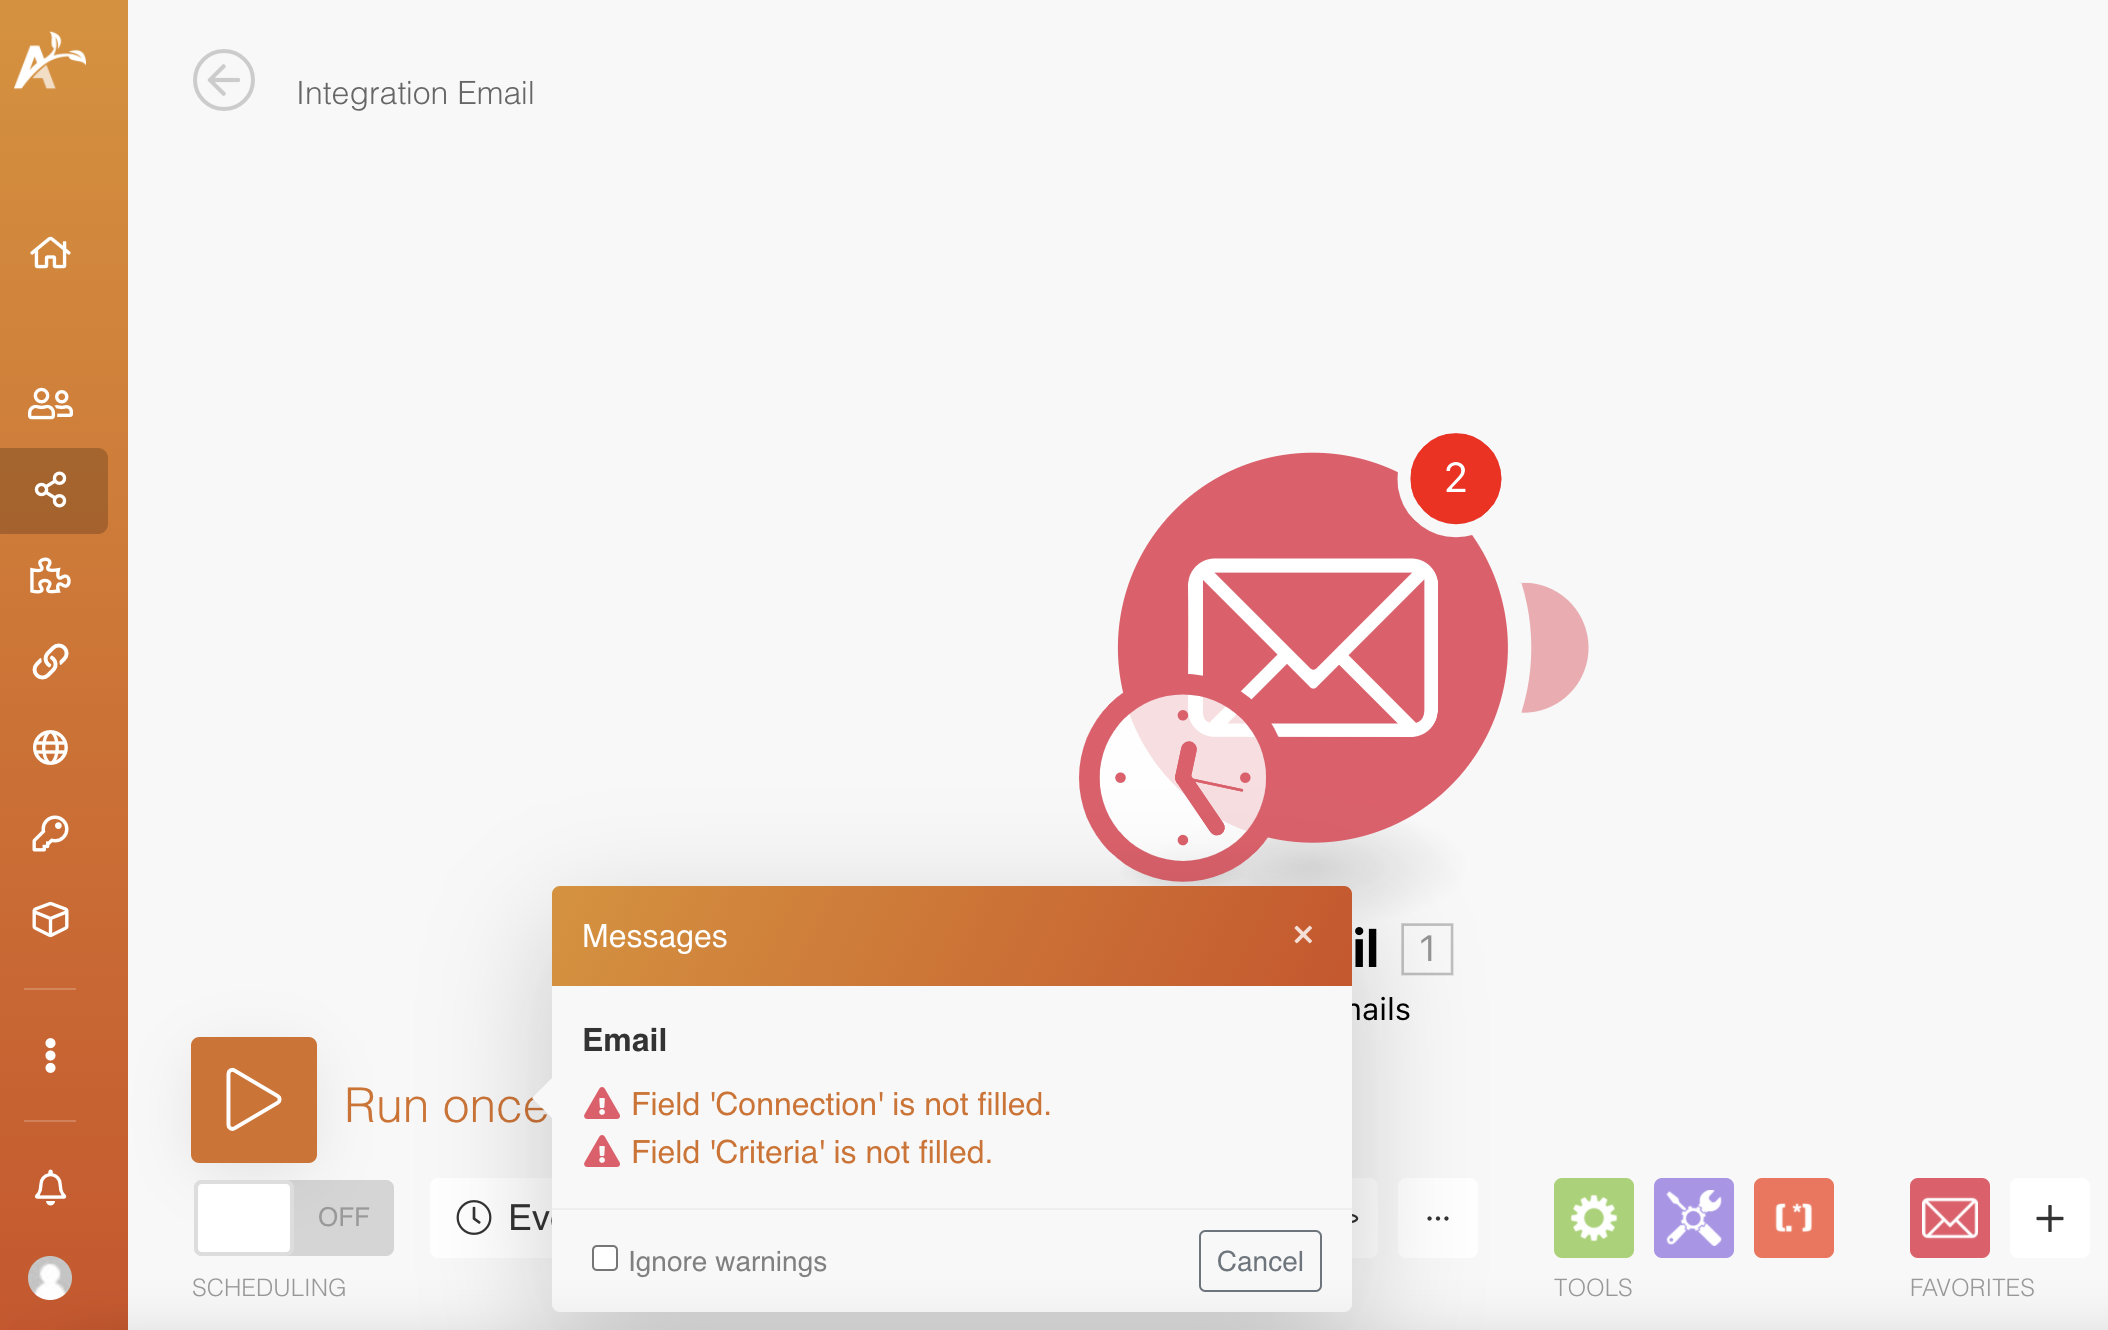
Once you have tested your scenario, a bubble will appear on top of the preceding modules that will provide information about the processed data, otherwise known as bundles. Refer to this article for more information on bundles.
We encourage users to test every scenario prior to running it live, as you can see data flow and identify errors in your scenario. Refer to this article for more information on error handling and management.
Activate your scenario
Your scenario is currently in the inactive stage. To run it, navigate to All scenarios> Inactive scenarios and switch the scenario from OFF to ON, as shown below.
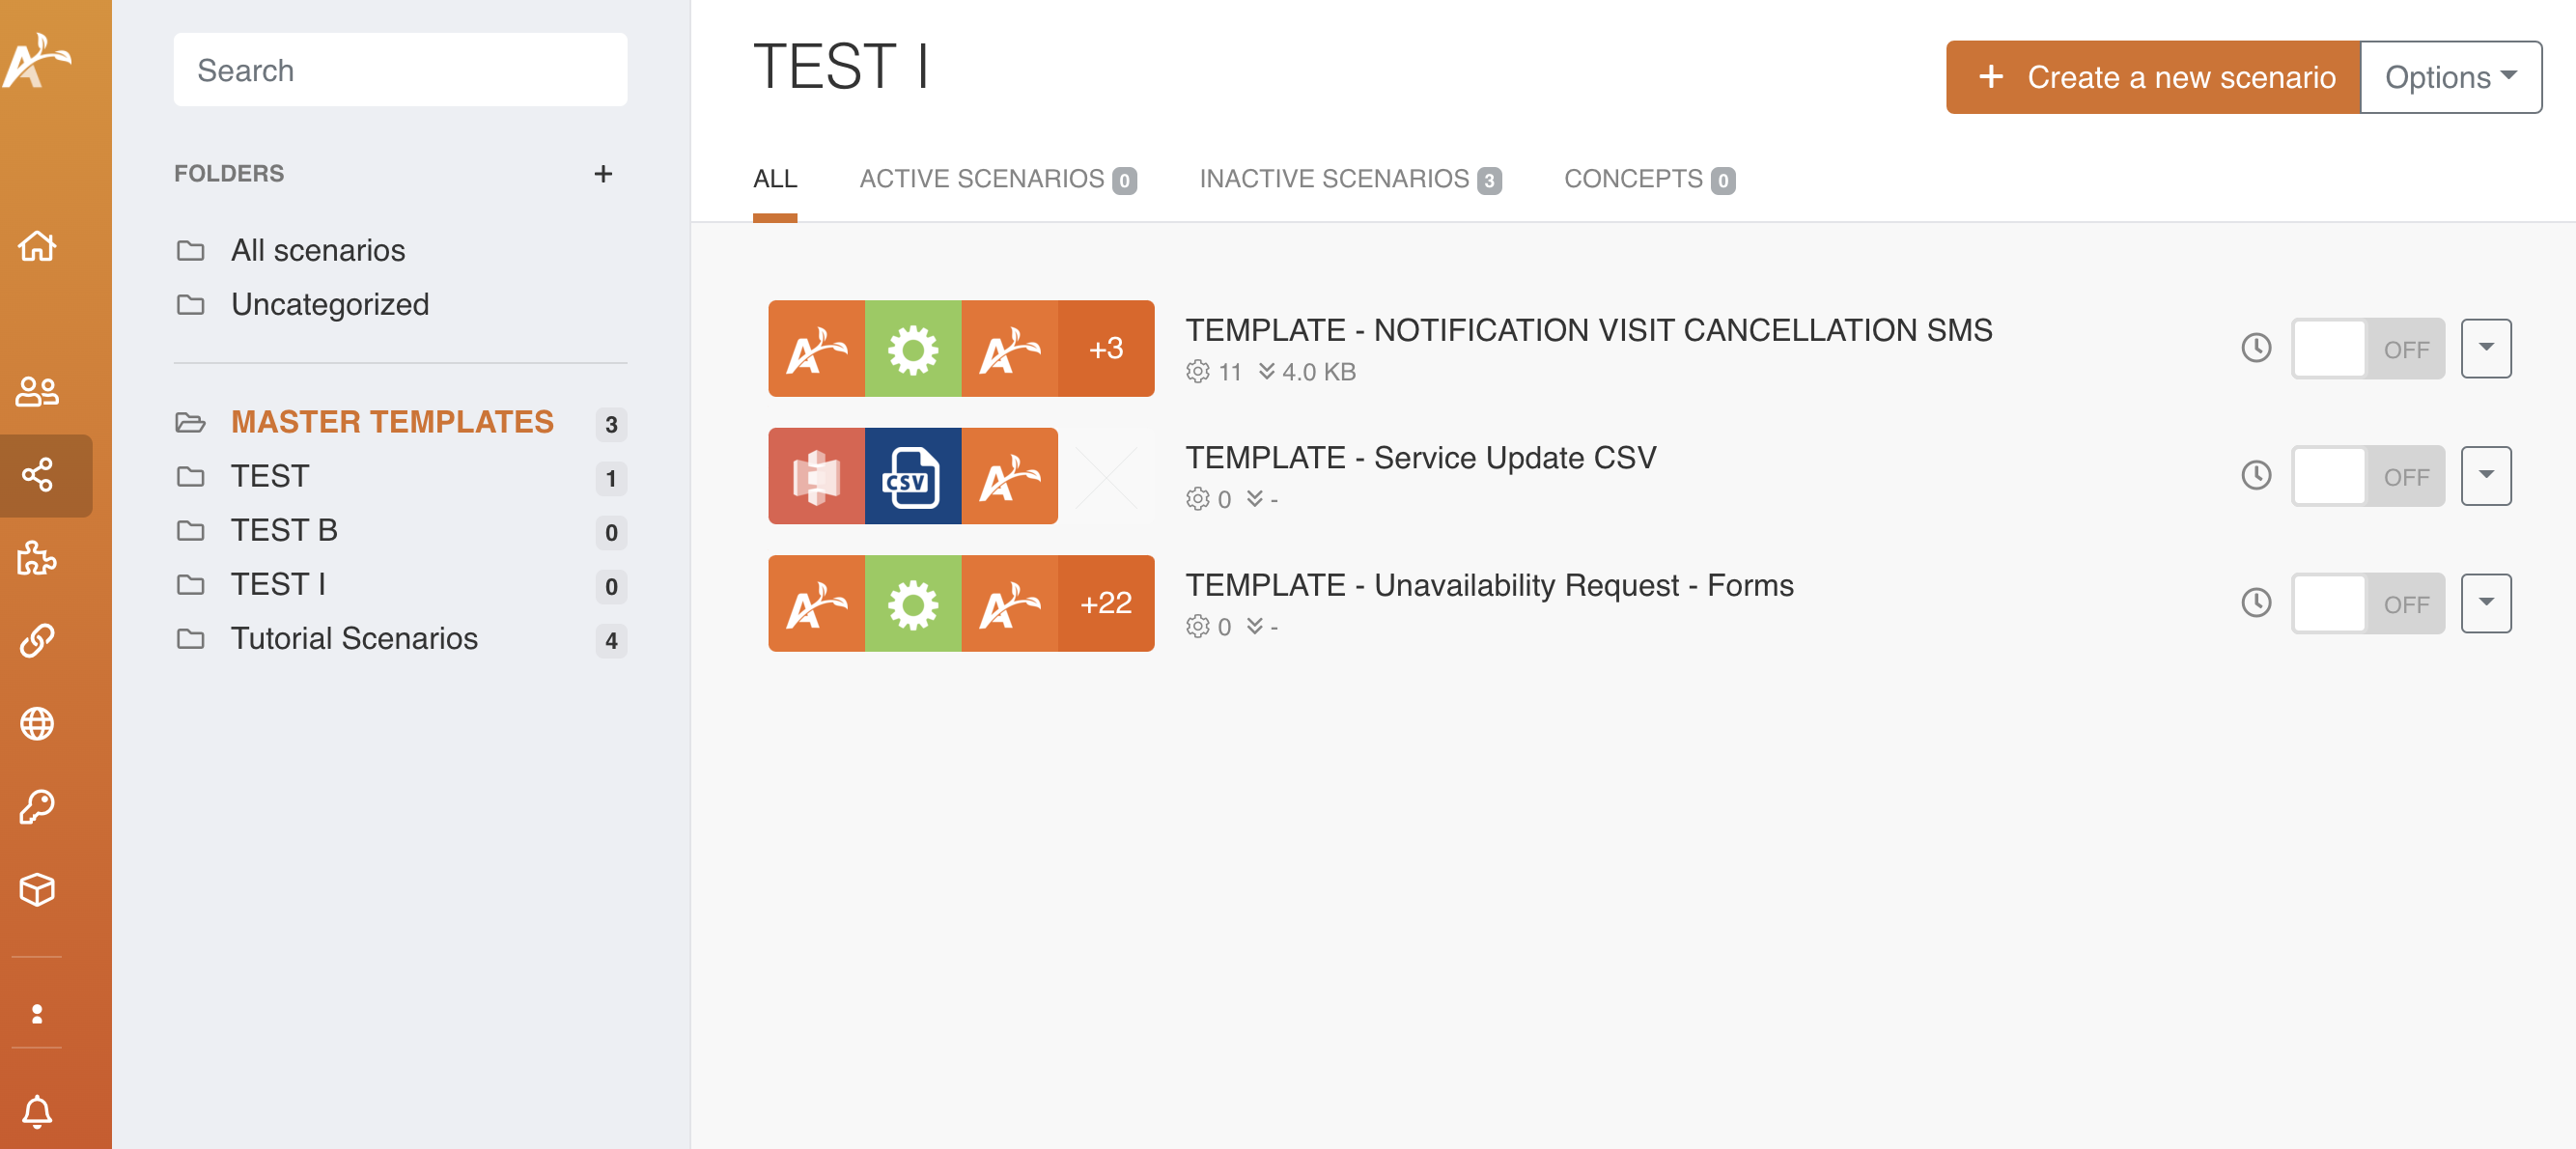
Once activated, your scenario will run according to your set schedule.
To test, schedule, and activate a scenario, watch the video below.
Comments
0 comments
Article is closed for comments.