Reasons and resolutions are required before a visit can be approved, when certain VV exceptions are raised during the visit verification process. This is configured at the time of adding a rule type to a rule set. A single reason code can have multiple resolution codes. To determine which resolutions can be selected for specific reasons, associations can be created between reasons and resolutions.
Multi-office rules: reasons and resolutions are multi-office aware. This means that reasons and resolutions configured at parent branches will be available to child branches. However, associations between reasons and resolutions will need to be individually configured for each branch.
To configure reason and resolution codes, go to accounting>accounting settings>verification reasons. You will see three tabs for reasons, resolutions, and associations.
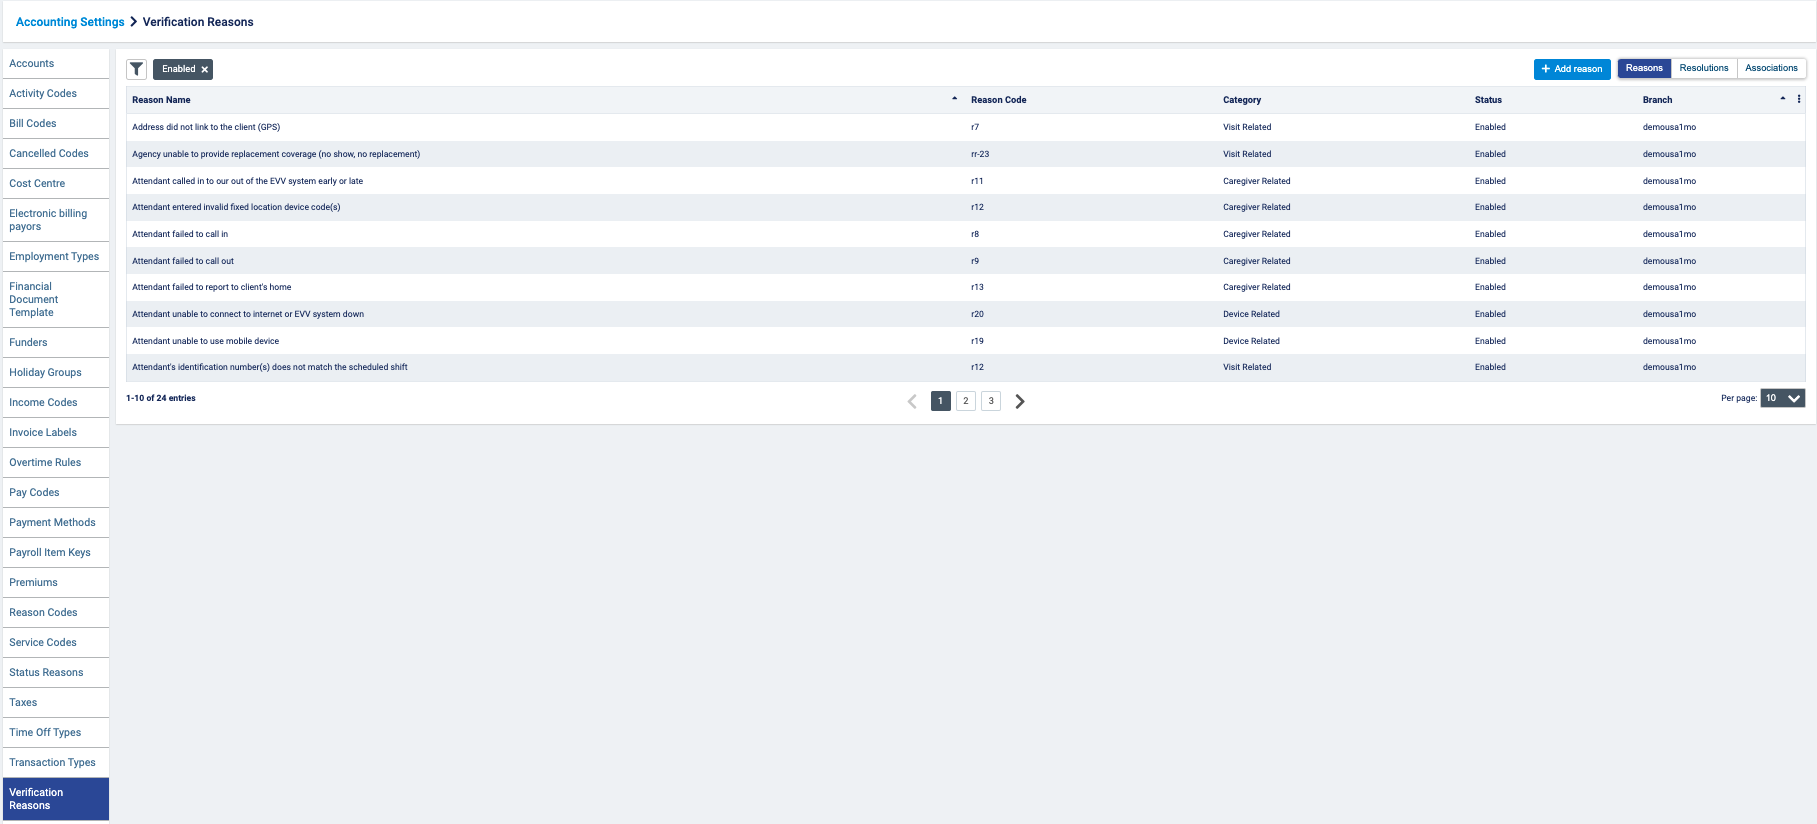
Reasons
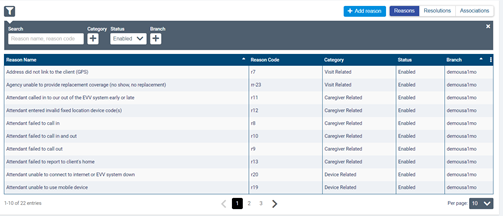
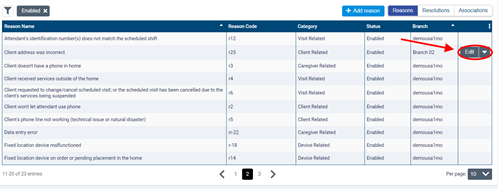
Under the reasons tab, you will see the reason name, reason code, category, and status (enabled or disabled) of previously configured reasons. If your organization is multi-office, you will also see the branch for which the reason was configured. The list can be filtered by searching for the reason code or reason name, or by category, or by status, or by selecting a branch (for multi-office organizations).
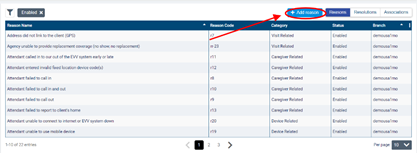
To add a new reason to the list, select the add reason button.
Enter a reason name and reason code, then select a category (caregiver related, client related, device related, punch in, punch out, or visit related). Note that the reason name must be unique across your organization. In multi-office environments, reason names must be unique to parent branches and any subsidiary branches. Branches at the same level can reuse the same reason names.
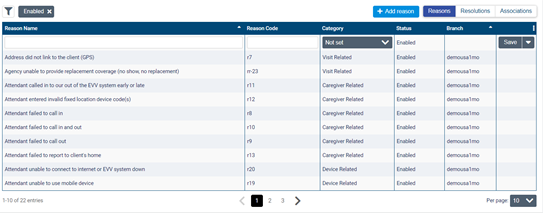
When you have finished, click save.
You can edit the reason by selecting the edit button. Note that within multi-office environments, you will only be able to edit or disable reasons created at the branch or subsidiary branch levels.
Click save to save all changes made.

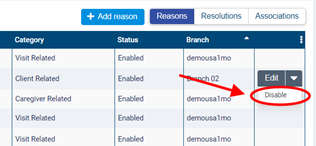
To disable a reason, select from the edit dropdown menu and click disable. Disabling a reason will also disable all of its associations.
Resolutions
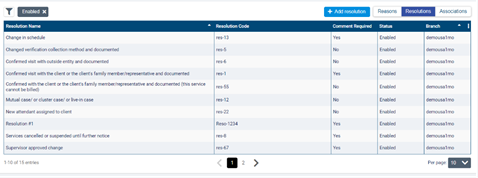
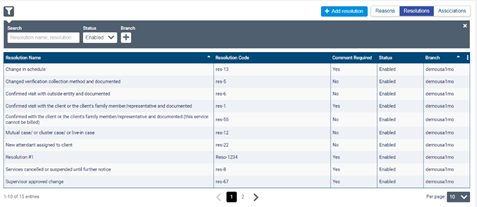
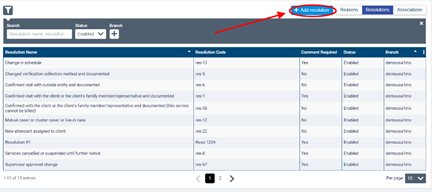
Under the resolutions tab, you will see the resolution name, resolution code, if a comment is required (yes or no), status for previously configured resolutions, and the branch at which it was configured (if your organization is multi-office). Resolutions are listed alphabetically.
You can filter the resolutions list by searching for the resolution code or name, or by status (enabled or disabled), or by branch (if multi-office).
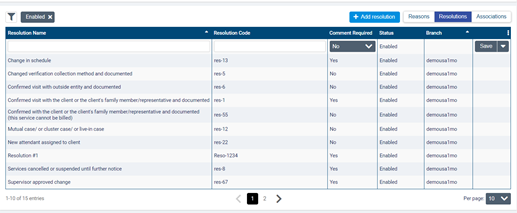
Click add resolution to add a new resolution.
Enter a resolution name, resolution code, and choose yes or no to determine if a comment will be required for this resolution type. The resolution name must be unique within your organization. In multi-office environments, reason names must be unique to parent branches and to any subsidiary branches. Branches at the same level can reuse the same reason names. Click save when you have completed your configurations.
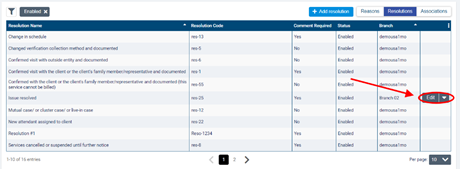
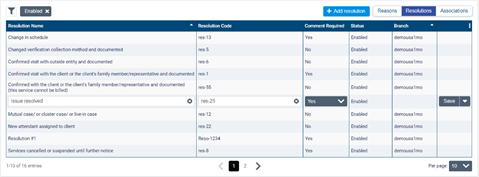
To edit a resolution, select the edit button. Note that in multi-office environments, you will only be able to edit or disable resolutions created at the same branch, or at a subsidiary branch.
Click save to save all changes made.
To disable a resolution, select from the edit dropdown menu and click disable. Disabling a resolution will also disable all of its associations.

Associations
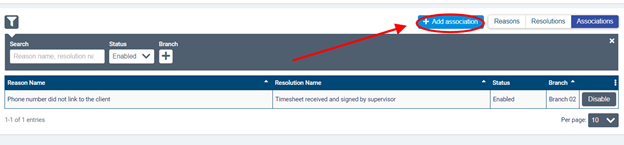
Go to the associations tab so to associate reasons with specific resolutions. Associations that have already been configured will be listed with the reason name, and the name of the associated resolution.

You can filter the associations list by searching for a reason or resolution name, or by status (enabled or disabled), or by branch (if multi-office).

Select add association to add a new association.
An add association dialogue box will then appear. Start typing and select the reason name you wish to associate with one or more resolutions. In multi-office environments, you will also need to select the branch in order to configure the association. The default branch will be the branch you are currently in.
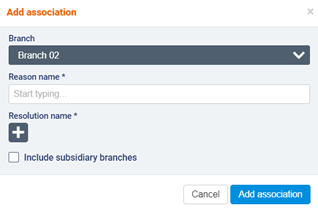
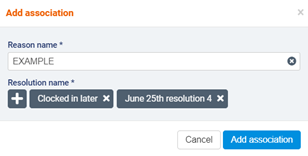
Click on the  icon to select the resolutions to associate with the reason. Check include subsidiary branches if you to apply the association to a child branch.
To disable an association, select the disable button.

A disable association dialogue box will appear. Click disable association to continue.

Comments
0 comments
Article is closed for comments.