Accessing Tasks
Tasks can be accessed in the following places:
- Dashboard>Tasks.
- Employee Profile>Tasks (for Tasks assigned to Employees).
- Client Profile>Tasks (for Tasks associated to a Client).
 ACL: Customer>View Client Tasks: For any Client you can access, view all their Tasks in Client Profile>Tasks, even when they are not assigned to you.
- Schedule & Work>My Tasks
- Through KPIs on the Dashboard.
To access the complete Tasks list, click the Tasks tab from the main dashboard.
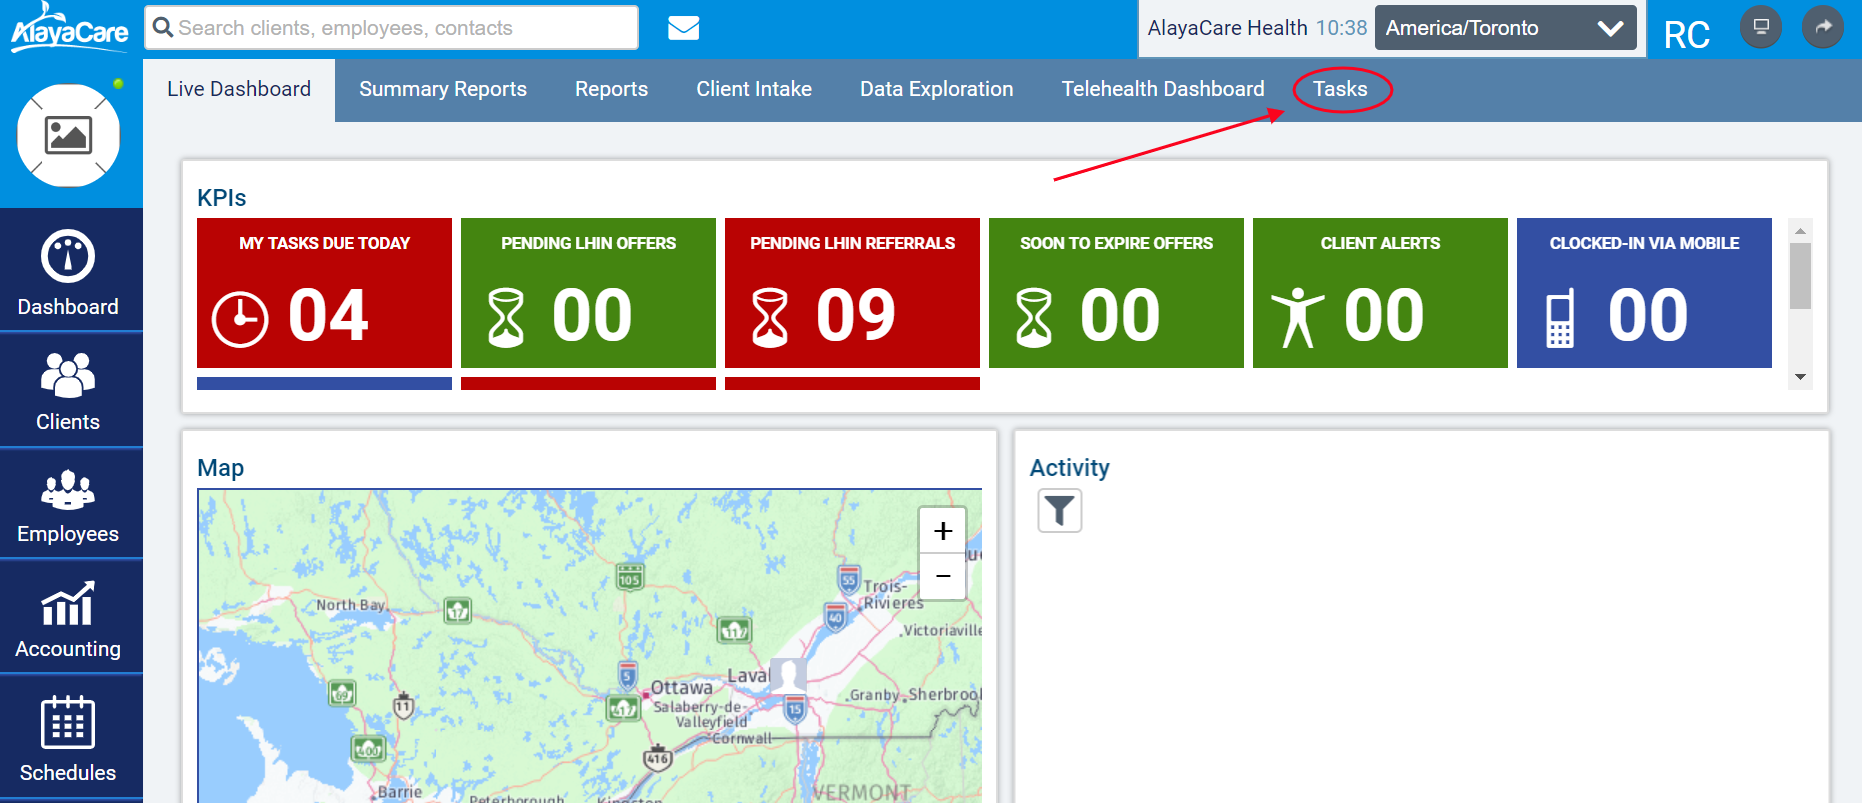
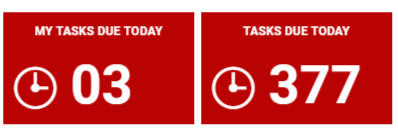
You can also access a version of this list by clicking the Tasks Due Today KPI to open a filtered list of all Tasks that are currently due or overdue. The My Tasks Due Today KPI will filter the list to show only currently due and overdue Tasks assigned to you.
View Task Details and Change its Status
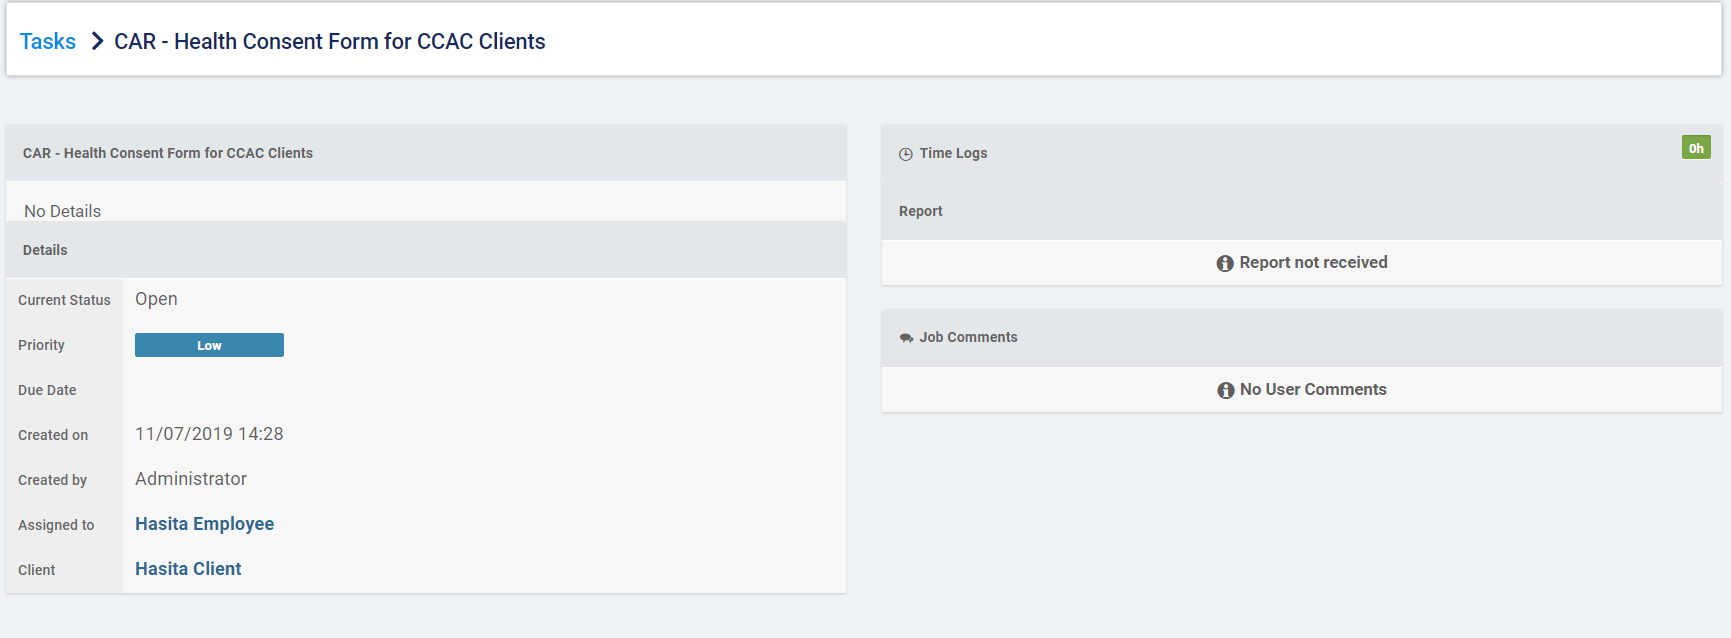
To review the details of a Task, click the View button on the Task.
General Task:

Task with Form Attached:
By default only Open Tasks will be shown. Click the ![]() icon to view the filters available for the Tasks List. Any filters you set will stay in place even if you navigate away and return, so you only need to set them according to your needs and preferences once.
icon to view the filters available for the Tasks List. Any filters you set will stay in place even if you navigate away and return, so you only need to set them according to your needs and preferences once.
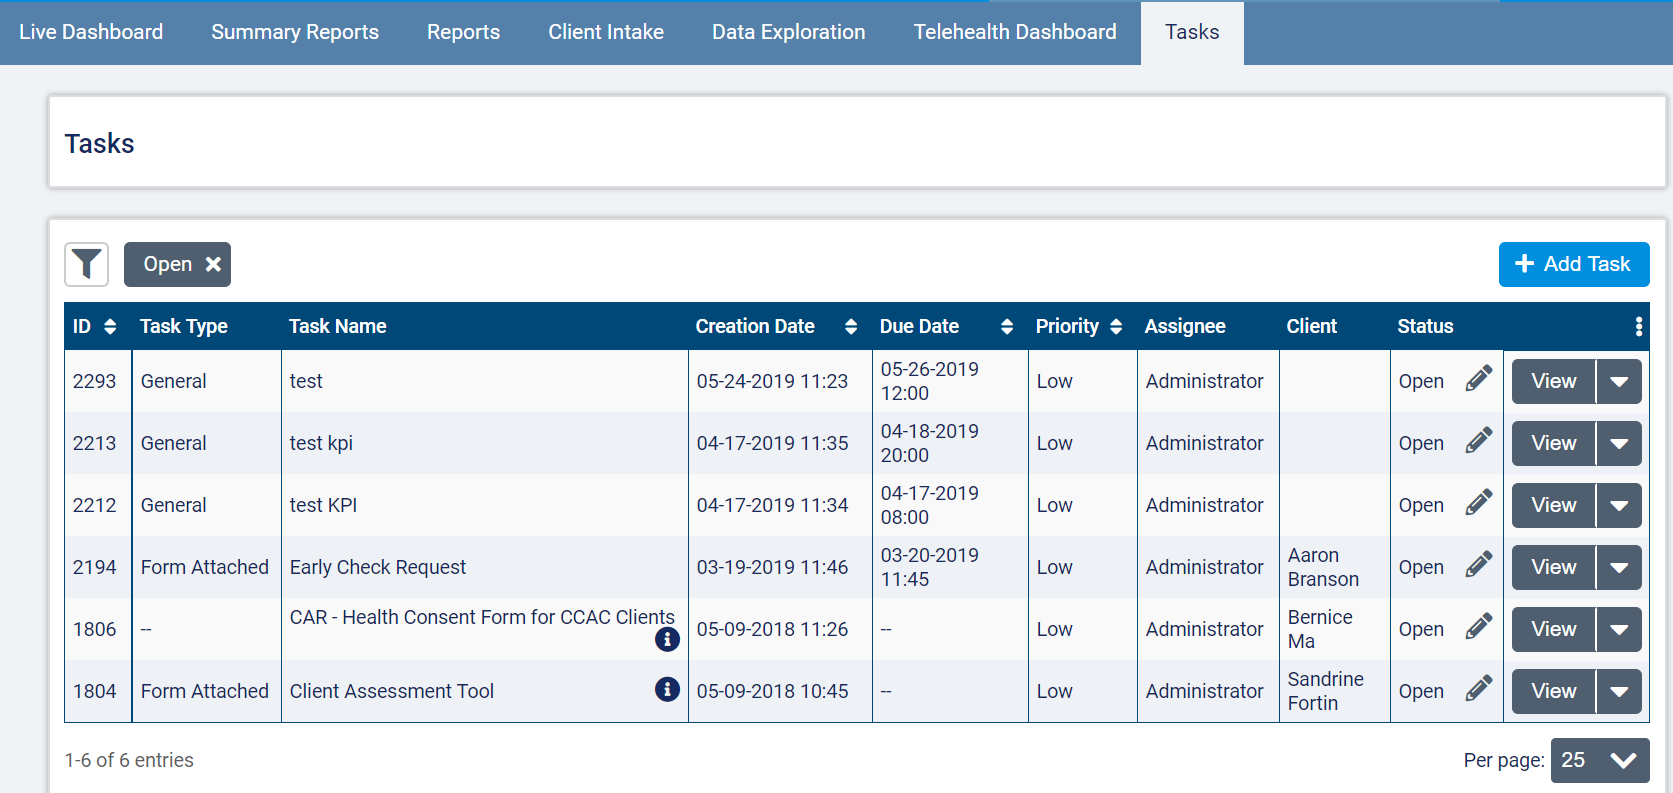
Type the name of a Client, Employee, or Task in the Search field to search for specific items. You can also filter by Due Date (Due Anytime, Due Tomorrow, Overdue, No Due Date, Due Today), Task Type (General, Form Attached, Event Task), Status (Open, On Hold, Closed, Rejected, Pending), Assigned status (Assigned, Not Assigned), Form Submission status (Has Submission, No Submission), Priority (Low, Normal, Important, Urgent), Client Group, Employee Group, and Employee Department.

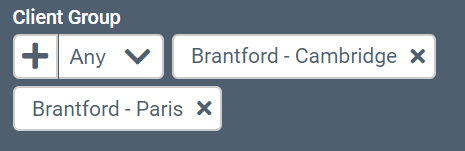
Note that when you select more than one Client Group or Employee Group you will have the option to choose whether you wish to search for Tasks in Any or All of the Groups selected.
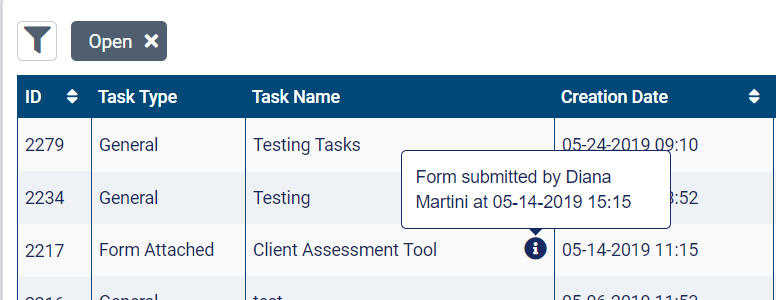
If the Form attached to a Task has been submitted, a tooltip with the name of the Employee who submitted the Form along with the date and time will appear next to the Task Name.
To change the Status of a Task, click the pencil icon next to the Status.
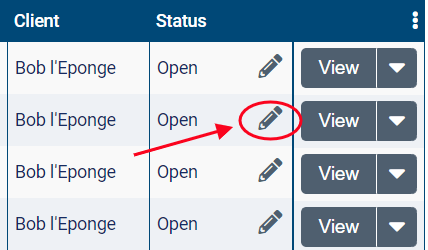
Select the Status you wish to set from the dropdown and then click the check mark to save the new Status.

Comments
0 comments
Article is closed for comments.