When designing a new Form in the Form Builder, you can add Sections to organize your Form into different parts to make it easier for users to complete.
Add a Section to a Form
In the Form Builder, you can add a Section to a Form by clicking and dragging the Section component into the place in the Form where the new Section should begin. Or, click Add Section to insert a new Section after the last item added.

Add a Label for your Section in the Label comment box. If you would like to provide additional Instructions for the Section, use the Instructions comment box.
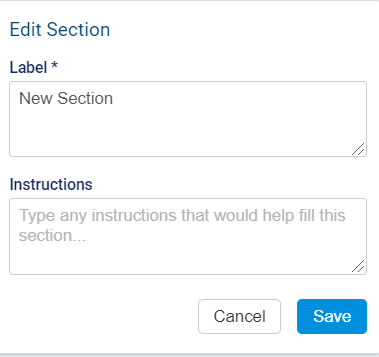
Click Save to save your changes.
To move a Section to another part of the Form, click the ![]() icon and drag it to the desired location.
icon and drag it to the desired location.

To edit the Section Label or Instructions, click the ![]() icon.
icon.
To delete the Section, click the ![]() icon. Note that deleting the Section will also delete all components included in the Section. In the resulting dialog box, click Delete if you wish to continue.
icon. Note that deleting the Section will also delete all components included in the Section. In the resulting dialog box, click Delete if you wish to continue.
Preview a Form with Sections
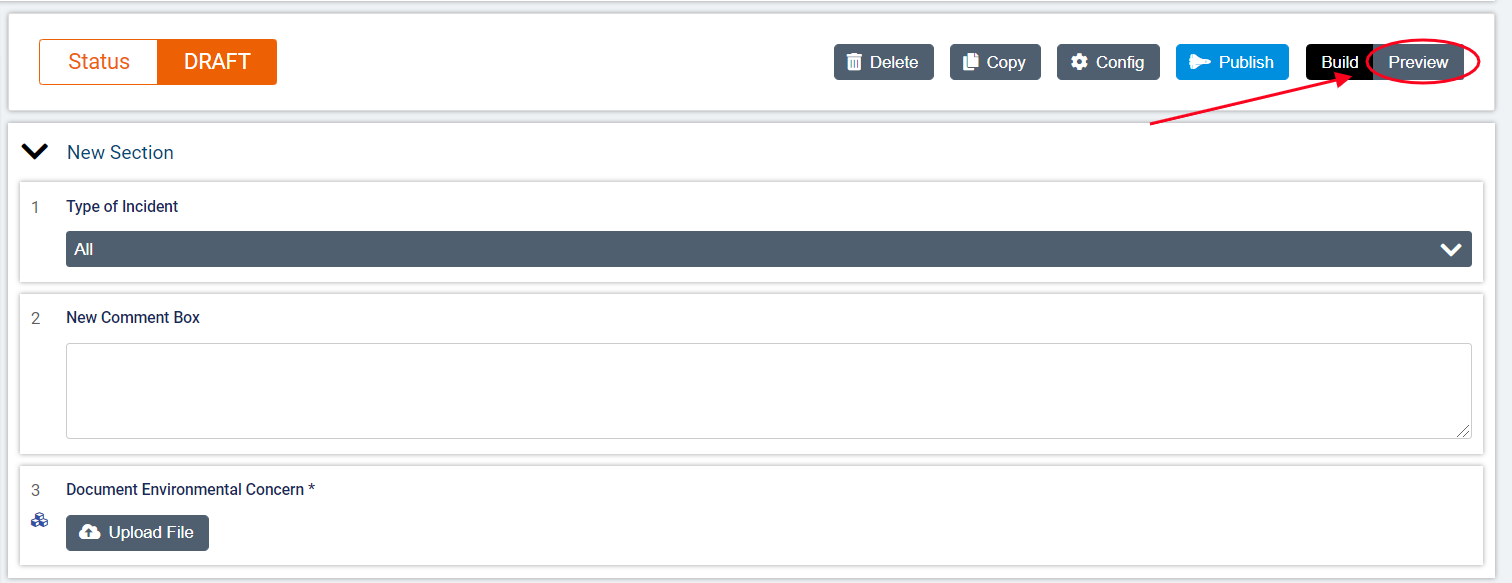
To see how your Form will appear to users, click Preview before publishing the Form.
Only one Section will appear at a time for the user to complete. Click Next Section to move on to the next part of the Form.
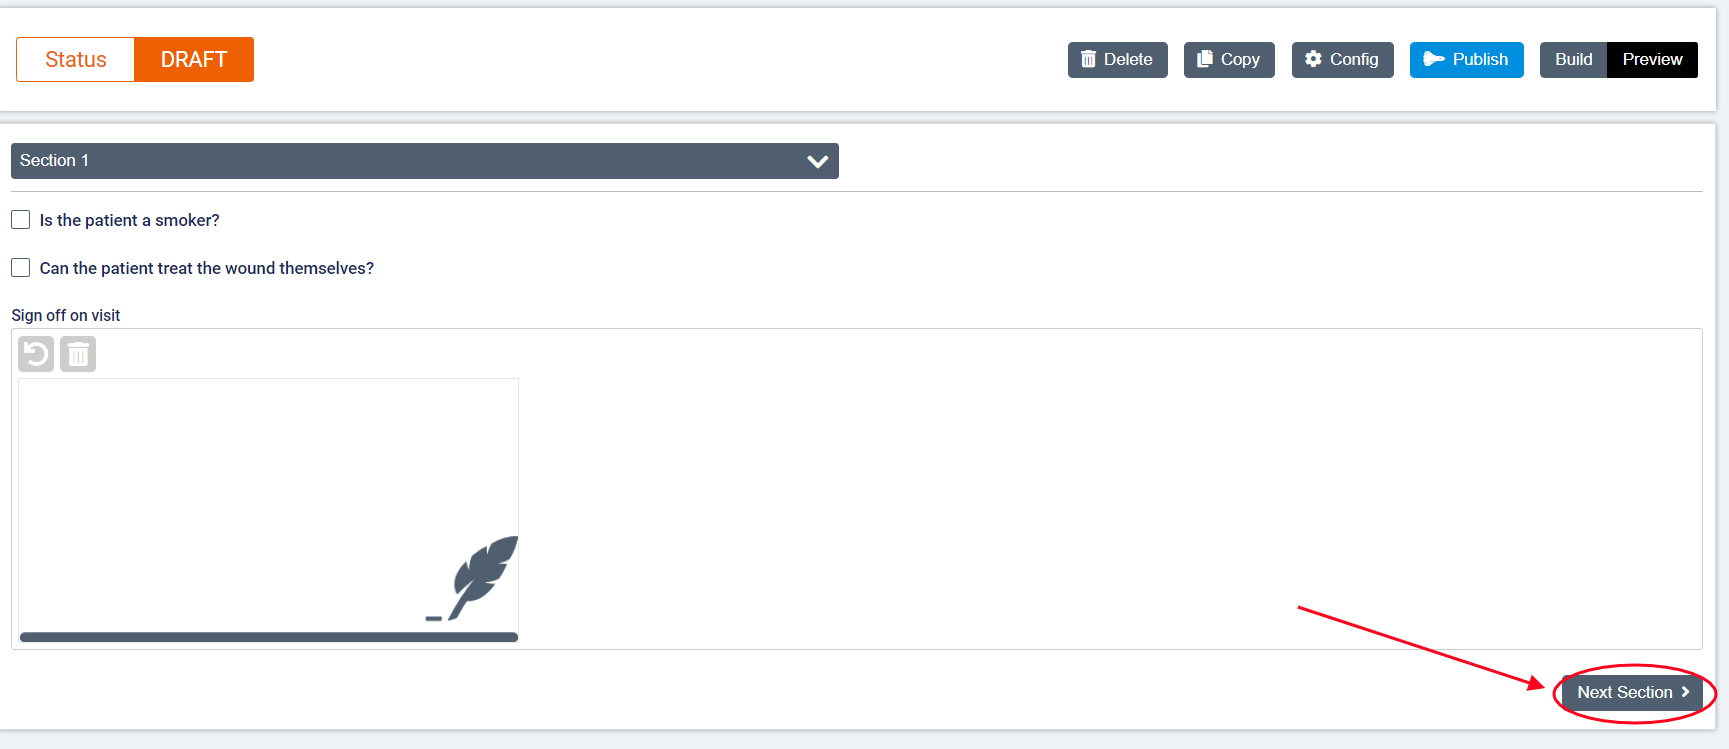
Click Previous Section to go back.

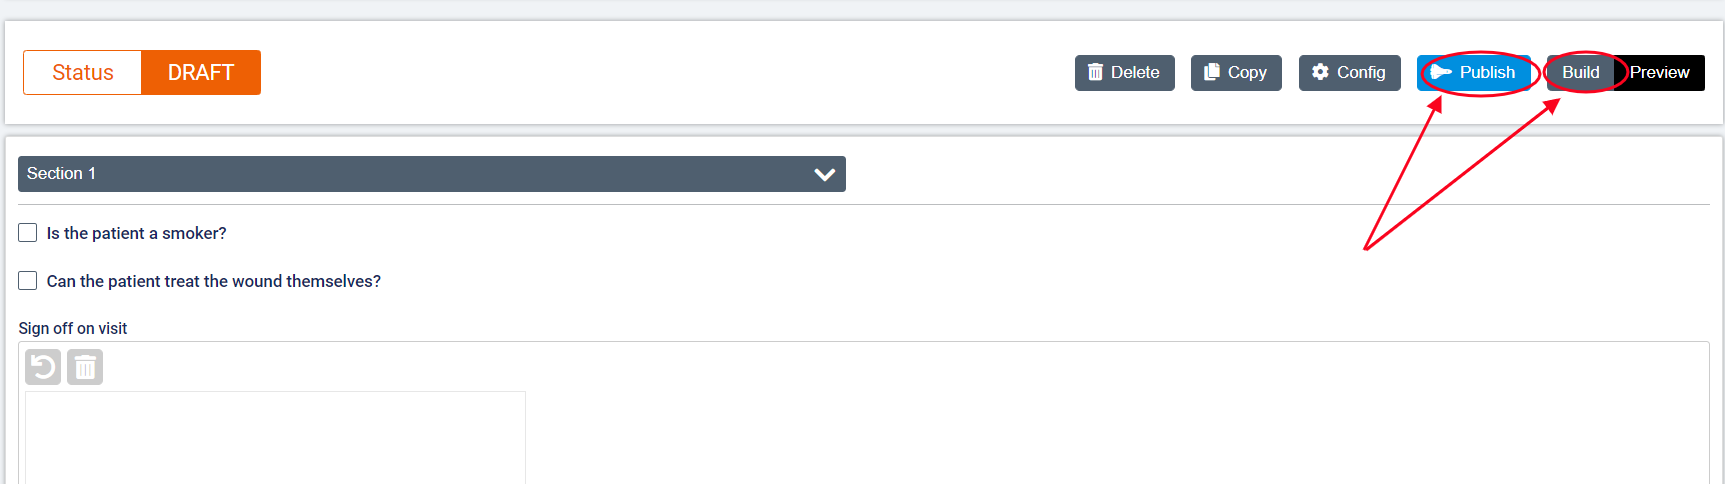
Once you have previewed your Form, you can either choose to Publish the Form or click Build to return to the Form Builder.
Comments
0 comments
Article is closed for comments.